FLH 1999 - 2008 Hose Installation Steps
Keeping Your Harley Running Cooler with UltraCool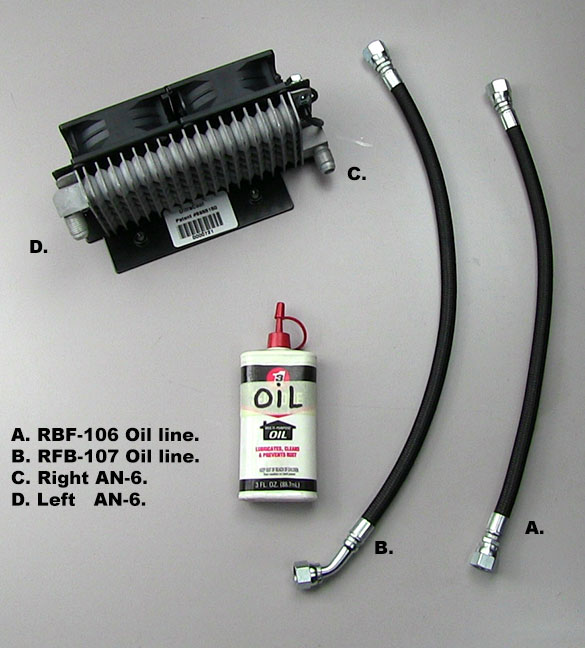
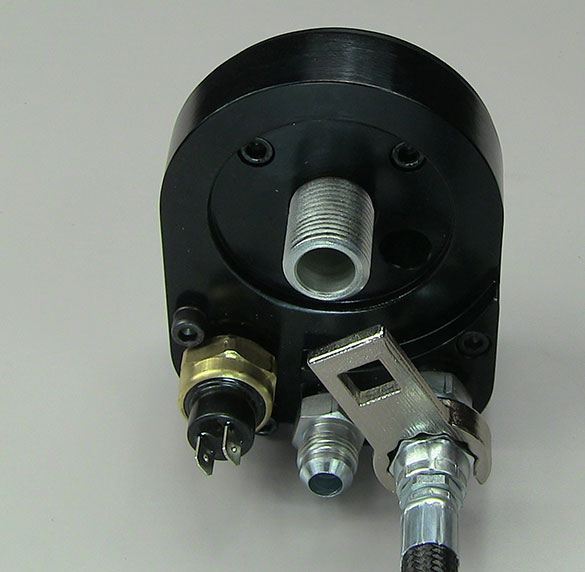
Step 1 Oil Fittings
Take braided oil lines and cooler assembly to a bench. Remove cooler cover and debris caps from cooler. Apply oil to all hose fittings and back of nut. Apply Oil to AN-6 fittings on cooler assembly.
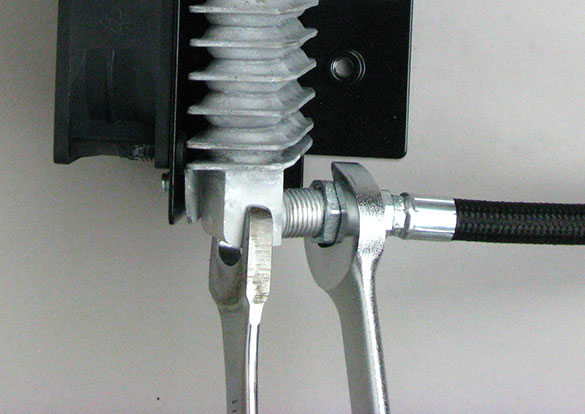
Step 2 Connecting Oil Lines
Hand start (straight fitting) to left side AN-6 fitting. Hand start 45 degree fitting to right side AN-6 fitting.
Use (2) 11/16” open end wrenches and tighten fittings. Get them good and snug. Use a back-up wrench! See pic
Step 3 Mount Cooler Assembly
Place cooler assembly with hoses attached on mounting Bracket. Use (1) cover bolt to hold cooler assembly to mounting Bracket hand tight.
Step 4 Routing Lines
Run the lines over to the right side of bike and up by shift leaver. Come up in front of oil adapter.
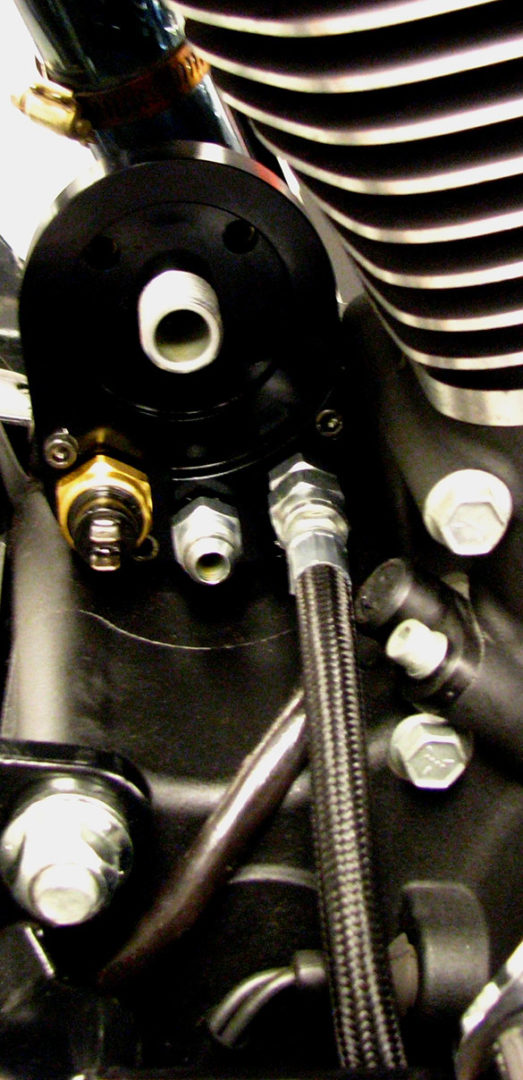
Step 5 Connecting to Oil Adapter
RFB-107 hand start straight fitting to rear AN-6 Fitting on oil adapter.
RFB-106 hand start straight fitting to front AN-6 Fitting on oil adapter.
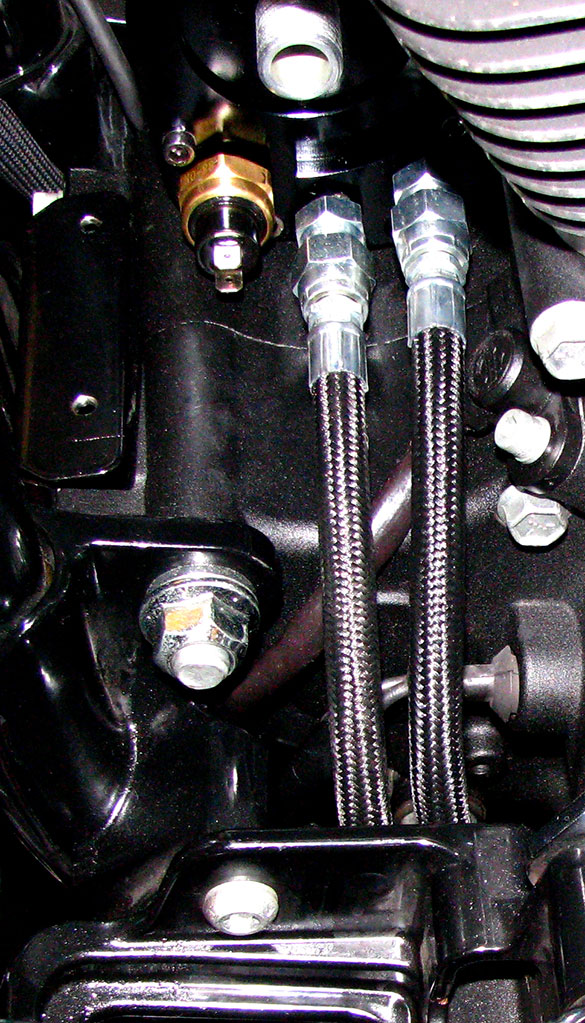
Step 6 Tightening Fittings
Locate the fitting wrench and use this tighten fittings
Step 7 Tightening Fittings
Now attach ratchet and extension and bring the fitting up snug and turn 1-2 more flats.

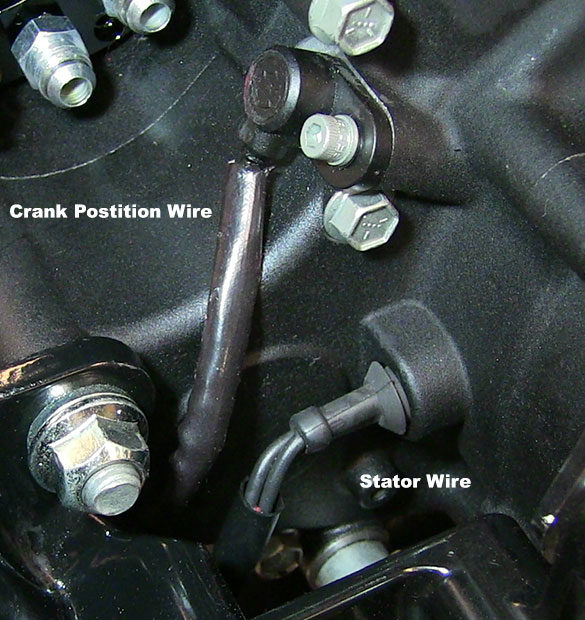
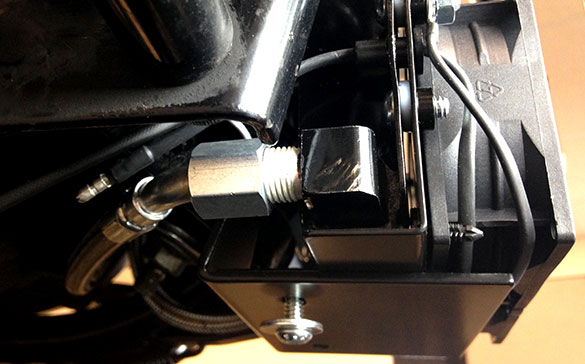
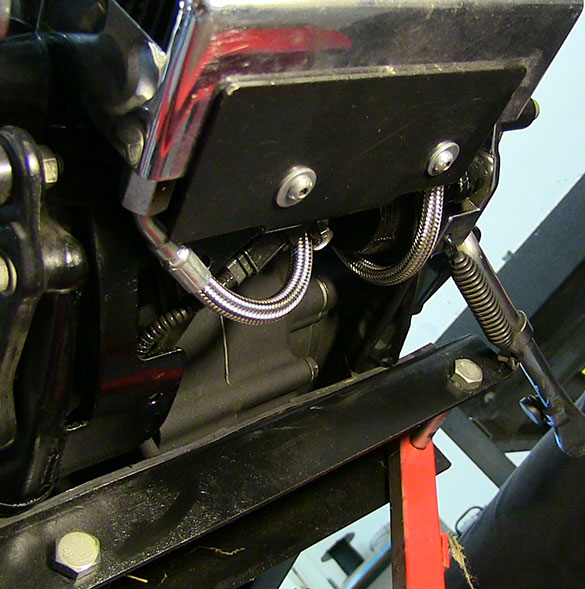
Step 8 Stator and Crank position
Note in the picture the Stator wire and the Crank Position wire. Use the rubber hose to prevent rubbing
or chaffing of these wires.
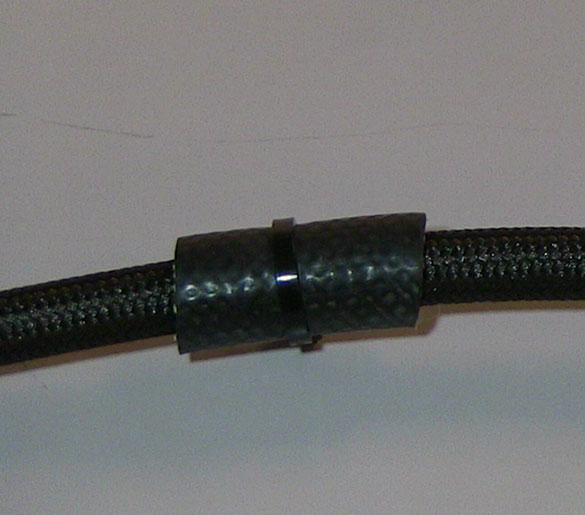
Step 9 Rubber Hose
Note: in picture use split rubber hose and a tie strap to hold in place.